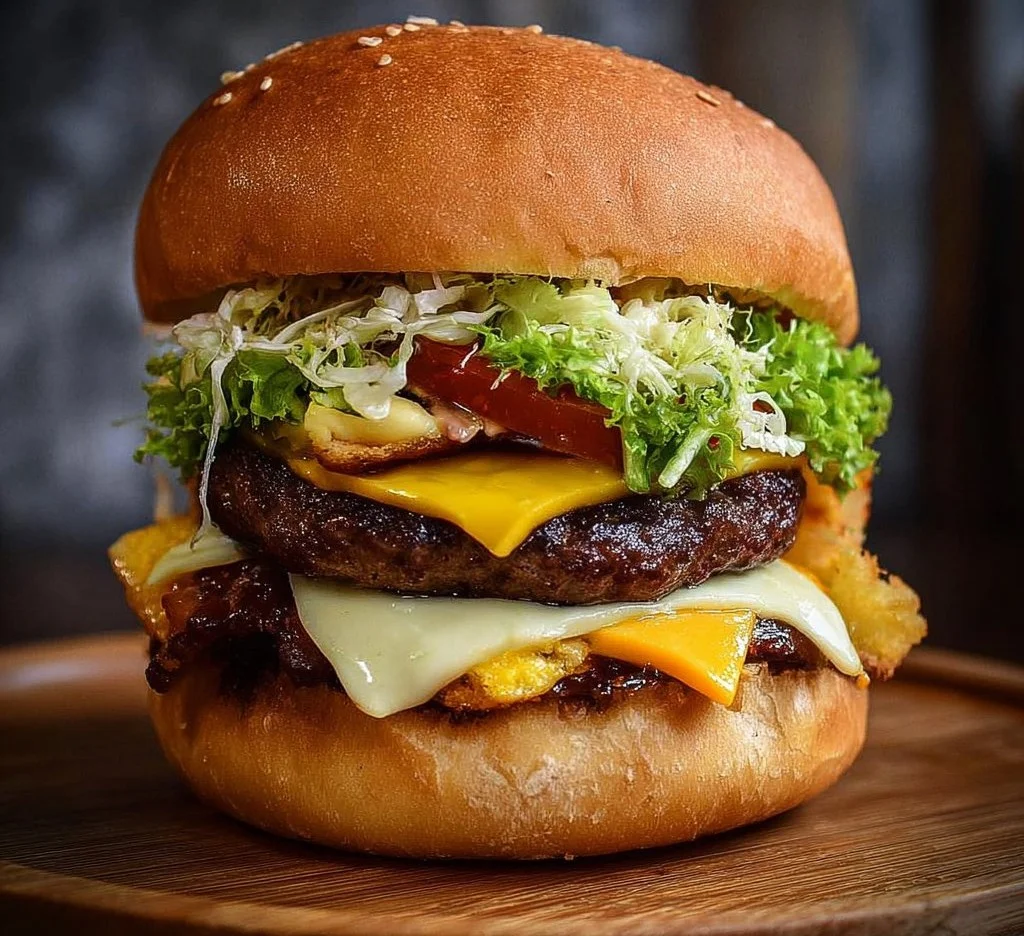
Ultimate Comfort Food Burger
Ever bitten into a burger so juicy and flavorful that you forget about all your worries?
Get ready to treat yourself to the Ultimate Comfort Food Burger! This isn’t just any burger; it’s your ticket to burger paradise, bursting with succulent beef, melty cheese, and all your favorite toppings. What makes it special? It’s incredibly easy to make and results in a plateful of pure happiness. Who doesn’t want that?
Why make this recipe
Let’s be real, life gets busy, and we all crave comforting food sometimes. Here’s why this burger should be on your dinner table:
- Quick and simple: You can whip it up in under 30 minutes. Perfect for those nights when you want comfort food without the fuss!
- Family fave: Build your own burgers night and let everyone customize theirs. It’s like a delicious burger buffet right at home!
- Easy cleanup: You’ll only use one pan or grill, so you can enjoy your burger without feeling overwhelmed by the dish pile waiting for you.
Ingredients
You don’t need fancy stuff — just these basics!
- 1 lb ground beef
- Salt and pepper to taste
- 4 hamburger buns
- Lettuce leaves
- Tomato slices
- Onion slices
- Cheese slices (cheddar, Swiss, etc.)
- Optional toppings: bacon, pickles, avocado, etc.
Directions
- Preheat the grill or stovetop pan over medium-high heat.
- Shape the ground beef into four patties and season both sides with salt and pepper.
- Grill the patties for about 4-5 minutes on each side, or until they reach your desired doneness.
- During the last minute of cooking, place cheese slices on top of the patties to melt.
- Toast the hamburger buns on the grill or in a toaster.
- Assemble the burgers by placing a patty on the bottom half of each bun, then add lettuce, tomato, onion, and any other desired toppings.
- Top with the other half of the bun and serve immediately.

How to make Ultimate Comfort Food Burger (Overview)
Making this Ultimate Comfort Food Burger is a breeze! First, fire up your grill or pan. Shape the beef, season it well, and cook those tasty patties until they’re just right. Don’t forget to melt that cheese—trust me, it’s worth the extra minute! As you toast the buns, assemble your masterpiece with all the fresh toppings you love. Pro tip: stack ‘em high for maximum deliciousness and selfie appeal 😉
How to serve Ultimate Comfort Food Burger
Serve your burger with a side of crispy fries or a light salad for that perfect crunch. Picture this: a soft, warm bun cradling a juicy, cheesy patty, topped with vibrant layers of lettuce, juicy tomato, and zesty onions. The aroma? Absolutely mouthwatering! Each bite is a crisp-tender explosion of flavors that feels like a hug in burger form.
How to store Ultimate Comfort Food Burger
If you somehow have leftovers (good luck with that!), you can store the assembled burgers in the fridge for about 1-2 days. Just pop them in an airtight container. For longer storage, freeze the cooked patties separately—aim for about 3 months. To reheat, simply microwave or grill for a few minutes until warm and melty again.
Tips to make Ultimate Comfort Food Burger
- Don’t skip the seasoning! A little salt and pepper go a long way.
- Experiment with cheese varieties—blue cheese, pepper jack, or even a vegan alternative can bring new flavors to your burger.
- For juicier patties, consider adding a dash of Worcestershire sauce to the beef before shaping.
- Don’t overcook the patties to maintain that juicy goodness. Aim for a nice sear on the outside while keeping it tender inside!
Variation
Feel like switching it up? Try a veggie burger using black beans or lentils. You can also make it spicy by adding jalapeños or a chipotle sauce. The options are endless for your Ultimate Comfort Food Burger!
FAQs
1. Can I use turkey or chicken instead of beef?
Absolutely! Just adjust the cooking time as poultry typically cooks faster.
2. Can I make these burgers ahead of time?
Definitely! Shape the patties and store them in the fridge for up to a day, or freeze them for later grilling.
3. What toppings can I add for extra flavor?
Think fun and creative! Try caramelized onions, spicy mustard, or even a dollop of barbecue sauce for an extra kick.
📌 Pin this recipe for your next cozy dinner night!

Ultimate Comfort Food Burger
Ingredients
Method
- Preheat the grill or stovetop pan over medium-high heat.
- Shape the ground beef into four patties and season both sides with salt and pepper.
- Grill the patties for about 4-5 minutes on each side, or until they reach your desired doneness.
- During the last minute of cooking, place cheese slices on top of the patties to melt.
- Toast the hamburger buns on the grill or in a toaster.
- Assemble the burgers by placing a patty on the bottom half of each bun, then add lettuce, tomato, onion, and any other desired toppings.
- Top with the other half of the bun and serve immediately.