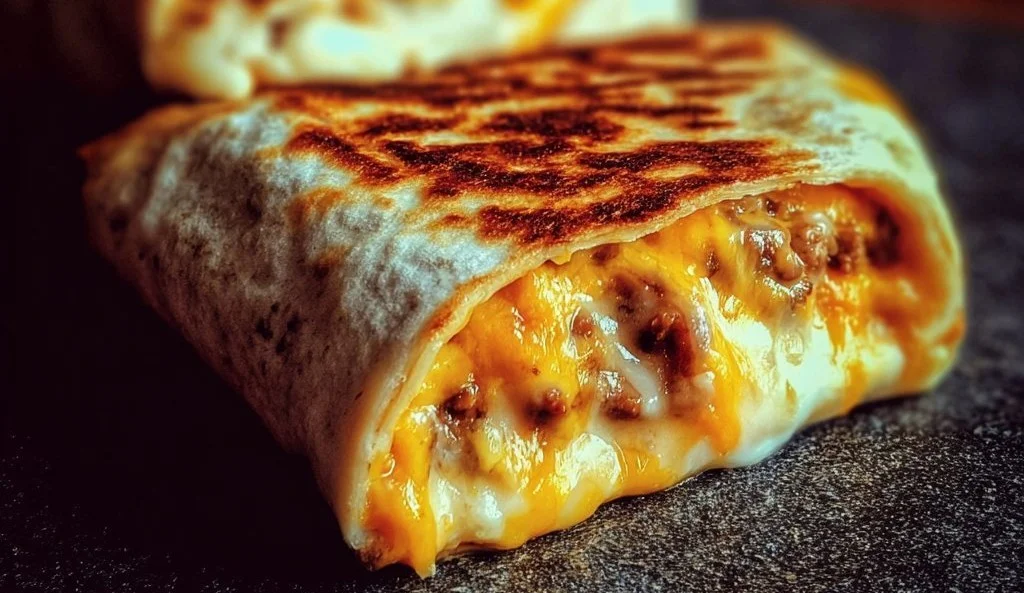
Grilled Cheese Burrito
Ever had a burrito that takes grilled cheese to a whole new level?
Imagine biting into a delightfully crispy tortilla packed with melted cheese and your favorite fillings—what could be better? This Grilled Cheese Burrito is a simple yet satisfying creation that has taken the internet by storm. It’s quick to whip up and perfect for a cozy night in when all you want is comfort food without any fuss.
Why Make This Recipe
First off, who doesn’t love easy cleanup? This delightful dish comes together in just one skillet, meaning fewer dishes to wash later. Plus, it’s affordable—just a few ingredients and you’re good to go. And let’s be honest, it’s totally family-friendly; kids (and adults!) can customize it with all their favorite fillings. You might want to make two; it’s that good!
Ingredients
You don’t need fancy stuff — just these basics!
- 2 large flour tortillas
- 1 cup shredded cheese (cheddar, mozzarella, or a blend)
- 2 tablespoons butter
- Optional fillings (like cooked bacon, ham, or vegetables)
Directions
- Heat a skillet over medium heat.
- Place one tortilla in the skillet and sprinkle half of the cheese on one half of the tortilla.
- Add any optional fillings if desired and then top with the remaining cheese.
- Fold the tortilla over to create a half-moon shape.
- Cook for about 3-4 minutes or until the bottom is golden and crispy.
- Flip and cook the other side until crispy and the cheese is melted.
- Remove from the skillet, slice, and enjoy!

How to Make Grilled Cheese Burrito (Overview)
Making this Grilled Cheese Burrito is like a mini cooking adventure. Start by warming up a skillet and laying down a tortilla. Layer half of the cheese first, then throw on any extras like bacon or veggies (because yes, you can be fancy!). Top it off with the remaining cheese, fold, and let that skillet do its magic. Pro tip: Keep an eye on it; crispy is great, burnt is not!
How to Serve Grilled Cheese Burrito
Serve your Grilled Cheese Burrito with a side of salsa or a dollop of guacamole for that extra kick. Picture a warm, golden tortilla nestled next to a bowl of vibrant green guac—it just screams flavor. Add some colorful veggies on the side for a refreshing crunch that makes this dish pop.
How to Store Grilled Cheese Burrito
These burritos keep well in the fridge for up to 3 days, wrapped tightly in foil or in an airtight container. Want to make them ahead? You can! Just store them in the freezer, and they’ll be good for about a month. When you’re ready to devour, reheat them in a skillet for a few minutes until warmed through and gooey.
Tips to Make Grilled Cheese Burrito
- Use fresh tortillas if possible; they crisp up better.
- Experiment with different cheeses for unique flavors.
- Add spices like taco seasoning to the cheese for a fun twist.
- Want more crunch? Throw in some crushed chips before folding!
- If you’re feeling lazy, just keep it classic with cheese and butter—no shame in that game! 😄
Variation
Feeling adventurous? Switch it up by making your burrito vegan! Use plant-based tortillas and cheeses, and load it up with grilled peppers and onions. You could even make a breakfast version with scrambled eggs and veggies. Talk about options! 🌯
FAQs
Can I use corn tortillas instead of flour?
Absolutely! Just keep in mind they might be a bit more fragile but still delicious.
Can I make this burrito ahead of time?
Yes, go ahead and prep them, then store them in the fridge or freezer for later.
What can I substitute for cheese?
Try nutritional yeast or a vegan cheese alternative for a dairy-free option!
📌 Pin this recipe for your next cozy dinner night!
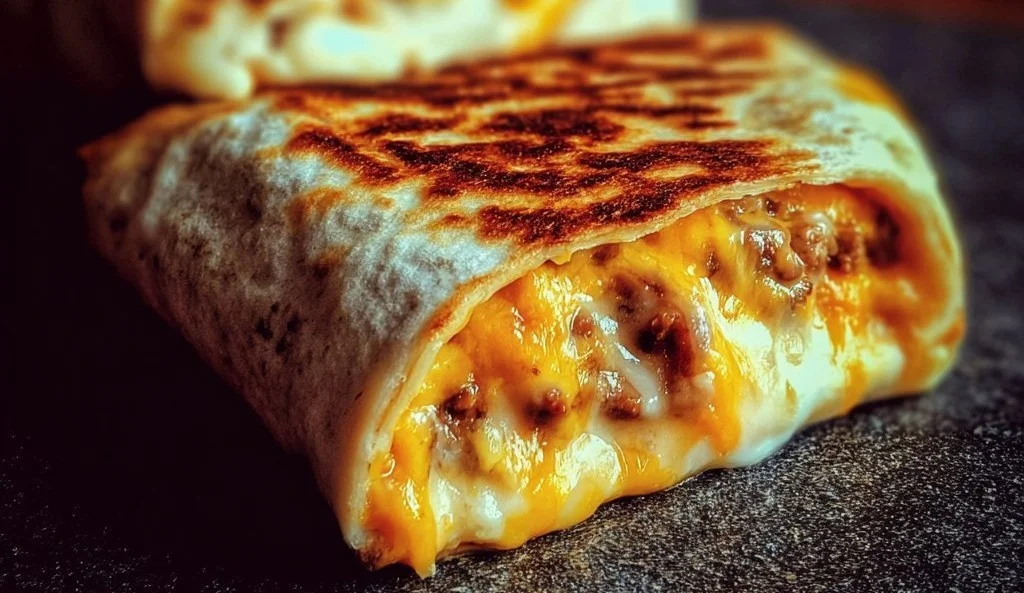
Grilled Cheese Burrito
Ingredients
Method
- Heat a skillet over medium heat.
- Place one tortilla in the skillet and sprinkle half of the cheese on one half of the tortilla.
- Add any optional fillings if desired and then top with the remaining cheese.
- Fold the tortilla over to create a half-moon shape.
- Cook for about 3-4 minutes or until the bottom is golden and crispy.
- Flip and cook the other side until crispy and the cheese is melted.
- Remove from the skillet, slice, and enjoy!